
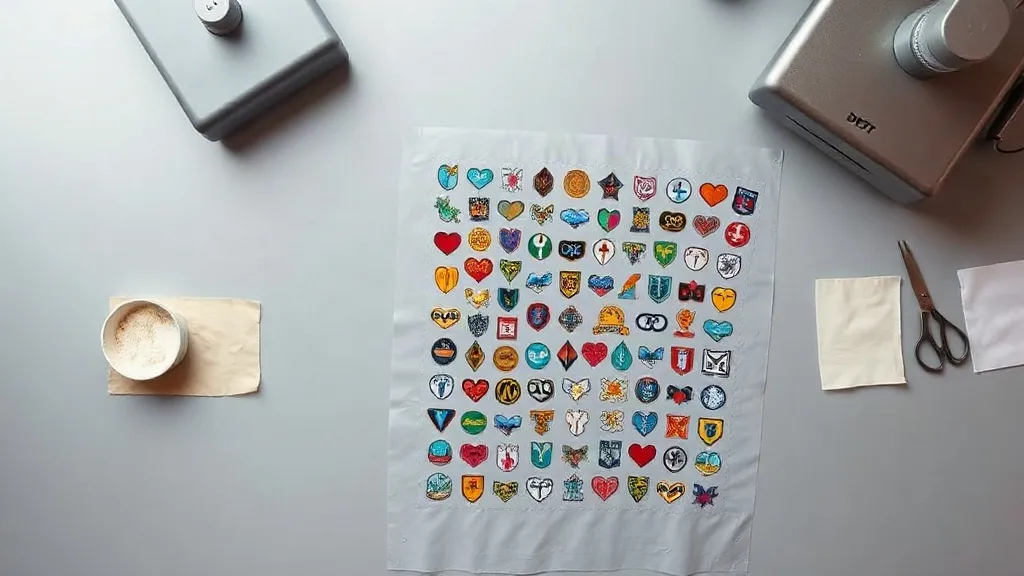
If you run a small patch business, you already know the math problem: every design you print eats film, ink, and time, and those costs do not shrink when you print a single logo. A DTF Gangsheet solves that problem by treating your print job as a single shared canvas. Instead of sending ten separate files and paying ten setup fees, you arrange every design on one long sheet, pay for the film once, and cut the pieces apart later. For patch makers who work with mixed order volumes, it is often the difference between a profitable week and a break-even one.
What a DTF Gangsheet Actually Is
Direct-to-film printing works by printing your artwork in reverse onto a coated PET film, applying a hot-melt adhesive powder, and curing it. The result is a flexible transfer you can press onto fabric with a heat press. A DTF Gangsheet is simply a long roll of that film filled edge to edge with multiple designs rather than one image.
The practical benefit is straightforward. Film has a fixed width, usually 13, 22, or 24 inches depending on the printer, and a fixed cost per meter. If your artwork only covers a third of that width, you are paying for empty space. Gangsheets let you fill the gap with other orders, samples, or best-selling designs you want to keep in stock.
For patch producers specifically, this matters because patch artwork tends to be small and irregular. A 3-inch embroidered-look badge takes up very little room, so a single-design print wastes most of the roll. Grouping a dozen badge designs onto one sheet turns a wasteful job into an efficient one.
How to Plan a Gangsheet Layout That Does Not Waste Film
Layout is where most people lose money. A sheet that looks full on screen can leave awkward gaps once you account for bleed, cut lines, and the powder application step. A few habits keep the sheet tight.
Nest shapes instead of stacking rows
Rectangular grids feel tidy but waste space around round, shield, and arched patch shapes. Rotate and interlock designs so curved edges sit against each other. Most RIP software includes an auto-nest feature, but check the result manually; automated nesting often leaves more margin than necessary.
Leave a real gap between designs
Transfers need a small border so the powder does not bridge two designs and so your cutting blade has room. A gap of roughly 3 to 5 millimeters is usually enough. Tighter than that and you risk tearing edges during weeding; wider than that and you are back to wasting film.
Group by fabric and application
If some patches go on cotton caps and others on stretchy performance wear, keep them on separate sheets. Press settings differ, and mixing them on one sheet makes it easy to grab the wrong transfer during a busy production run.
Add a test print in the leftover corner
Every sheet has odd corners. Use them for a small color swatch or a scrap of a new design. It costs almost nothing and gives you a reference piece when a customer questions a color match.
Film, Powder, and Ink Choices That Affect Patch Quality
Not all DTF supplies behave the same on patch substrates. Patches are often pressed onto twill, canvas, denim, and synthetic blends, and each surface pulls differently on the adhesive.
- Film thickness: Standard film around 75 microns works for most patch jobs. Thinner film drapes better on curved caps but is easier to wrinkle during powder application.
- Powder mesh size: Fine powder gives a softer hand and cleaner edges on small lettering. Coarse powder grips textured fabrics better but can look grainy on fine detail.
- White ink laydown: Patches usually need an opaque white base so colors stay vivid on dark twill. Two passes of white add opacity but also stiffness, so test before committing a full sheet.
- Ink limits: Heavy saturation on large solid areas can cause the film to curl after curing. Keep total ink coverage moderate and let the sheet cool flat.
Store finished sheets flat or loosely rolled with the printed side facing out. Powder that gets compressed against the film in a tight roll can flake off before you ever press it.
Pressing DTF Transfers Onto Patch Blanks
Application is where a good print either shines or fails. The variables that matter most are temperature, pressure, and peel timing, and they interact with the fabric underneath.
- Pre-press the blank for a few seconds to remove moisture. Damp fabric is the most common cause of poor adhesion and bubbling.
- Press at the film manufacturer's stated temperature, typically in the 150 to 160 degrees Celsius range, with medium to firm pressure.
- Peel according to film type. Cold peel films need to cool completely; warm peel films come off while still hot. Mixing this up ruins an otherwise perfect transfer.
- Post-press with a cover sheet for a few seconds to lock the adhesive into the weave.
For patches that will be sewn onto garments rather than pressed directly, press the transfer onto the patch blank first, then stitch the finished patch in place. Stitching through a transfer that has not been properly cured can cause edge lifting.
Cost Math: When a Gangsheet Beats Single Prints
Run the numbers before you assume gangsheets are always cheaper. The break-even point depends on how much of the sheet you can fill and how much setup your printer charges.
Suppose a single-design order costs a flat setup fee plus film by the meter. If your artwork covers 30 percent of the width, you are effectively paying for 70 percent of nothing. Fill that space with two or three other designs and your effective cost per design drops sharply, even after you add the labor of cutting them apart.
The labor side is real, though. Cutting, sorting, and labeling individual transfers takes time. If your order volume is low and your designs are large, a simple single print may still be the simpler path. Gangsheets reward volume and small artwork, which is exactly the profile of most custom patch work.
Common Mistakes That Ruin a Good Sheet
Most failures come from small oversights rather than bad equipment. Watch for these:
- Forgetting to mirror the artwork before printing, which produces backwards text on the final patch.
- Placing designs too close to the film edge, where heat and pressure taper off during pressing.
- Over-powdering, which leaves a chalky residue that shows through light-colored fabrics.
- Curing unevenly, so some areas of the sheet adhere well and others peel after a few washes.
- Skipping a wash test on a scrap piece before shipping a new fabric and film combination.
A five-minute wash test on a spare transfer saves far more than it costs. Press a sample onto the same blank you plan to use, run it through a normal home wash cycle, and inspect the edges. If it holds, you can commit the full sheet with confidence.
Frequently Asked Questions
How many designs fit on a typical DTF gangsheet?
It depends entirely on design size and nesting. A 22-inch-wide sheet loaded with 3-inch patches can hold several dozen pieces, while large back-of-jacket designs may only fit two or three. Measure your artwork footprint and divide the usable sheet area by it, then subtract roughly 10 percent for gaps and margins.
Can I mix different fabrics on one gangsheet?
You can print them together, but keep them organized. Transfers destined for cotton, polyester, and blends often need different press temperatures and peel timings. Grouping by destination fabric on the sheet, or running separate sheets, prevents mix-ups during a busy production day.
How long can I store a printed DTF transfer before using it?
Stored flat in a cool, dry place away from direct sunlight, most transfers stay usable for several months. Humidity is the main enemy; powder can absorb moisture and lose tack. A sealed bag with a desiccant pack extends shelf life considerably.
Do DTF transfers work on patches that will be washed frequently?
Yes, provided the transfer is fully cured and pressed with adequate pressure. Wash durability comes down to adhesion, so pre-pressing the blank, using correct temperature, and post-pressing with a cover sheet all matter. Always run a wash test on a sample before promising a customer long-term durability.
Is a gangsheet worth it for a very small order?
Usually not on its own. The savings come from filling the sheet, so a gangsheet makes sense when you can combine several orders or stock a few best-sellers alongside a custom job. For a single small run, a standard print is often the more practical choice.