
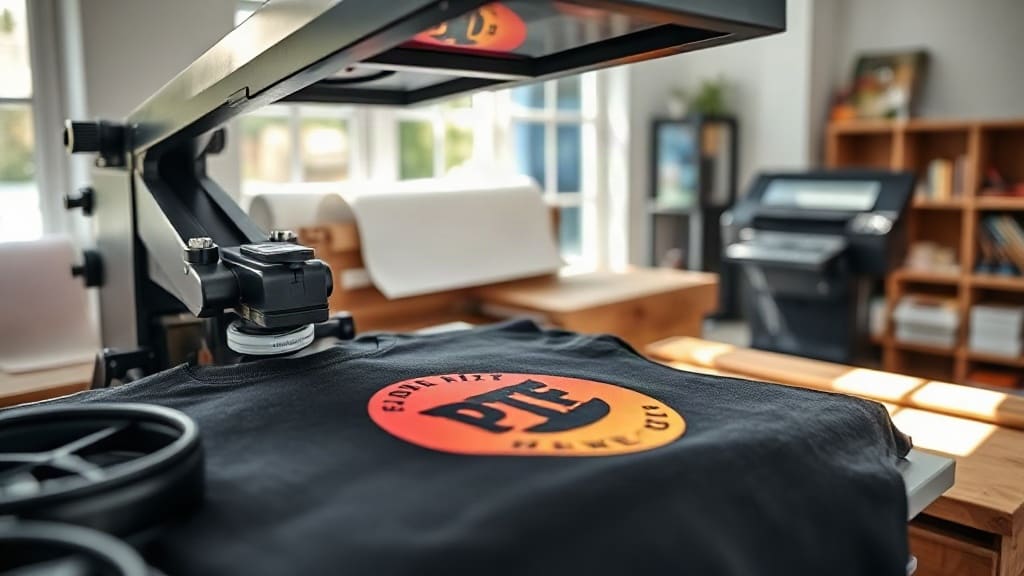
When you want custom apparel that pops with color and withstands everyday wear, DTF transfers are a game-changer. Unlike traditional methods, DTF transfers let you print full-color designs on almost any fabric without the hassle of weeding or special pretreatment. Whether you're decorating team jerseys, creating promotional merchandise, or adding a personal touch to gifts, understanding DTF transfers can save you time and money while delivering professional results.
What Are DTF Transfers?
DTF stands for Direct to Film. It's a printing technology where your design is printed onto a special film using pigment-based inks, then coated with a hot-melt adhesive powder. Once the powder is cured, the transfer is ready to be applied to fabric using a heat press. The film acts as a carrier, allowing the ink and adhesive to bond permanently to the material when heat and pressure are applied.
This method differs from DTG (Direct to Garment) and sublimation. DTG prints directly onto the fabric, which often requires pretreatment and works best on 100% cotton. Sublimation requires polyester-coated surfaces and only bonds with light-colored polyester. DTF transfers, however, adhere to cotton, polyester, blends, and even tough materials like canvas and denim. That versatility makes them a favorite for small businesses and crafters who handle diverse orders.
Why Choose DTF Transfers?
There are several compelling reasons to incorporate DTF transfers into your workflow. First, the color vibrancy is outstanding. Because the design is printed on film and then transferred, you get bright, opaque colors even on dark garments without needing a white underbase. Second, the process is incredibly efficient. You can print multiple designs on a single sheet of film, powder them, and cure them in batches, which speeds up production.
Another advantage is the stretch and durability. DTF transfers create a flexible bond that moves with the fabric, reducing cracking and peeling. They also withstand repeated washing when applied correctly. For businesses, this means fewer returns and happier customers. Plus, DTF transfers eliminate the need for cutting and weeding vinyl, which can be time-consuming and wasteful.
From a cost perspective, DTF transfers are economical for short runs and complex designs. Unlike screen printing, there are no setup fees or minimum order quantities. You can produce one-off items or small batches without breaking the bank. This makes them ideal for personalized gifts, sample orders, and on-demand production.
How to Apply DTF Transfers: Step-by-Step
Applying DTF transfers is straightforward, but following the right steps ensures a professional, long-lasting result. Here's a detailed guide.
Step 1: Prepare Your Workspace and Materials
Gather your heat press, DTF transfer, garment, and a protective sheet (like parchment paper or a Teflon sheet). Ensure your heat press is on a stable surface and preheated to the recommended temperature. For most DTF transfers, a temperature between 325°F and 350°F (160°C to 175°C) works well, but always check the instructions provided with your transfers.
Step 2: Preheat the Garment
Preheating removes moisture and wrinkles from the fabric. Set your heat press to the desired temperature and press the garment for 5 to 10 seconds. This step is crucial because moisture can interfere with adhesion. If you're working with a shirt, focus on the area where the transfer will go.
Step 3: Position the Transfer
Place the DTF transfer on the garment with the printed side facing up. The film backing should be on top. If you're centering a design, use a ruler or guide to ensure proper alignment. For dark garments, the white adhesive layer will be visible through the film, so make sure the design is where you want it.
Step 4: Apply Heat and Pressure
Cover the transfer with your protective sheet. Press down with medium to firm pressure for 10 to 15 seconds. The exact time can vary based on your press and the transfer manufacturer, so start with 12 seconds and adjust if needed. Avoid excessive pressure, which can cause the design to spread or the adhesive to ooze.
Step 5: Peel the Film
DTF transfers can be peeled either hot or cold, depending on the film type. Most modern films are cold peel, meaning you wait for the transfer to cool completely before removing the film. This prevents the design from stretching or distorting. Once cooled, peel the film off in a smooth, steady motion. If any part of the design lifts, press it again for a few seconds.
Step 6: Post-Press for Durability
For extra durability, cover the design with your protective sheet and press again for 5 to 10 seconds. This second press ensures the adhesive fully bonds with the fabric and smooths out any imperfections. After that, your garment is ready to wear or sell.
Common Mistakes to Avoid with DTF Transfers
Even though DTF transfers are user-friendly, a few missteps can ruin your results. Here are the most common pitfalls and how to avoid them.
- Using the wrong temperature: Too low and the adhesive won't activate; too high and the film may melt or the ink may burn. Always follow the manufacturer's recommendations.
- Skipping preheating: Moisture in the fabric can cause the transfer to peel. Preheating is non-negotiable.
- Peeling too soon: If you peel a cold-peel transfer while it's still hot, the design can stretch or tear. Wait for it to cool completely.
- Insufficient pressure: Without enough pressure, the adhesive won't penetrate the fabric fibers, leading to premature peeling.
- Not storing transfers properly: Keep unused DTF transfers in a cool, dry place away from direct sunlight. Humidity can cause the powder to clump.
DTF Transfers vs. Other Decoration Methods
How do DTF transfers stack up against vinyl, screen printing, and DTG? Let's compare.
Vinyl: Heat transfer vinyl (HTV) requires weeding and layering for multi-color designs. It works well on cotton but can be stiff on large areas. DTF transfers offer more flexibility and vibrant full-color prints without weeding.
Screen Printing: Screen printing is cost-effective for large orders but has setup costs and is impractical for complex, multi-color designs. DTF transfers shine for small batches and detailed artwork.
DTG: DTG is great for 100% cotton but requires pretreatment and often struggles with polyester. DTF transfers handle both cotton and polyester with ease and don't need pretreatment.
Each method has its place, but DTF transfers provide a unique blend of versatility, vibrancy, and efficiency that's hard to beat.
Tips for Getting the Best Results
To maximize the quality and longevity of your DTF transfers, keep these tips in mind.
- Choose quality transfers: Not all DTF transfers are created equal. Purchase from reputable suppliers who use high-grade inks and films.
- Test on scrap fabric: Before pressing onto a final garment, test your settings on a similar fabric to dial in temperature, pressure, and time.
- Use a heat press, not an iron: Irons don't provide consistent pressure or temperature, leading to uneven results.
- Wash inside out: To prolong the life of your DTF-printed apparel, wash inside out in cold water and tumble dry low.
- Store transfers flat: Avoid folding or creasing the transfer film, which can cause lines in the final print.
Frequently Asked Questions About DTF Transfers
Can DTF transfers be applied to any fabric?
DTF transfers adhere to a wide range of fabrics, including cotton, polyester, blends, canvas, denim, and even leather. However, fabrics with a heavy texture or waterproof coating may require special handling. Always test on a small area first.
How long do DTF transfers last?
When applied correctly and cared for properly, DTF transfers can last as long as the garment itself. They resist cracking, peeling, and fading through dozens of washes. Following the recommended washing instructions will ensure maximum durability.
Do I need a special printer for DTF transfers?
Yes, DTF printing requires a dedicated DTF printer that uses pigment inks and a film feeding system. However, if you're not ready to invest in a printer, you can buy pre-printed DTF transfers from suppliers and apply them with a heat press.
What is the best temperature for pressing DTF transfers?
Most DTF transfers press at 325°F to 350°F (160°C to 175°C) for 10 to 15 seconds. However, temperatures can vary by manufacturer, so always check the instructions that come with your transfers.
Can I layer DTF transfers?
Yes, you can layer DTF transfers to create multi-color or multi-design effects. Press the first transfer, peel the film, then press the second transfer on top. Use a protective sheet between layers to prevent sticking.
Final Thoughts
DTF transfers have revolutionized custom apparel decoration by offering unparalleled versatility, vibrant colors, and easy application. Whether you're a hobbyist or a business owner, mastering DTF transfers can open up a world of creative possibilities. With the right techniques and a bit of practice, you'll be producing professional-quality garments that impress your customers and keep them coming back. So why wait? Grab your heat press, order some DTF transfers, and start bringing your designs to life today.