
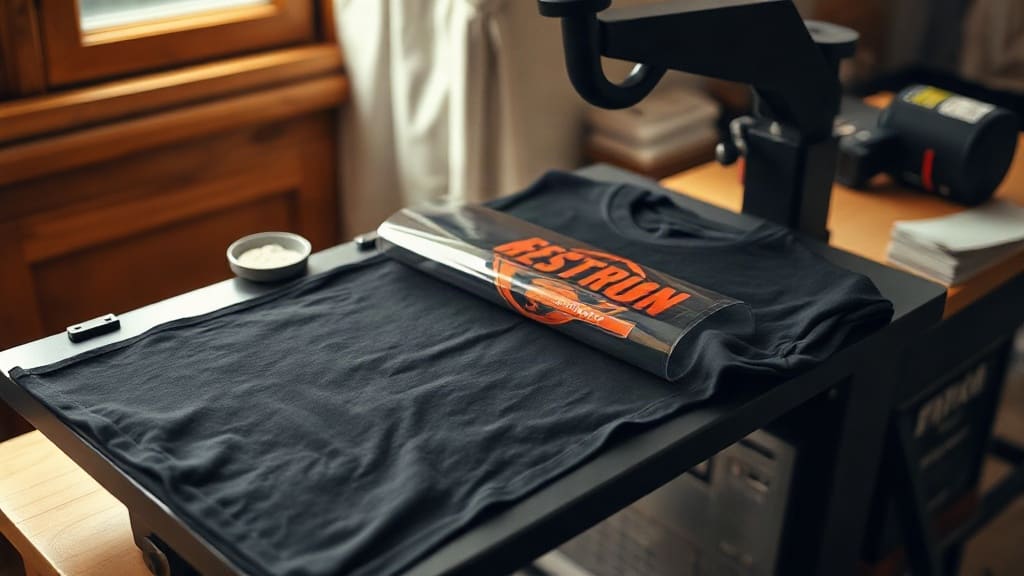
Most of the custom orders that land on my bench start the same way: a customer sends a screenshot of a design with a dozen colors, a gradient, or a photo of somebody's dog, and asks whether it can go on a hoodie. A few years ago that answer meant embroidery pricing that made them wince. Today, DTF transfers handle that job for a fraction of the cost, and they have quietly become the most requested decoration method in my shop. But the film is not magic, and the gap between a transfer that survives fifty washes and one that peels in a week comes down to a handful of details most tutorials skip.
What a DTF Transfer Actually Is
A direct-to-film transfer is a printed image, not a cut one. The design is printed onto a PET film in reverse using water-based pigment inks, then a thermoplastic polyurethane powder is scattered across the wet ink. The powder sticks only where ink exists. After the film dries, you have a flexible, stretchy sheet of adhesive-backed artwork that gets pressed onto fabric with heat.
What separates this from vinyl or screen print is the color range. There is no weeding, no color separation, and no per-color setup fee. A design with forty colors costs the same as a design with two. That is why DTF transfers became the default answer for photographic prints, fine gradients, and small text that would clog a screen or snap an embroidery needle.
Where the Powder Matters More Than the Print
The ink layer is what you see. The powder is what holds it on. Cheap transfers often skimp here, using a coarse adhesive that feels gritty once cured and cracks at the edges after a few tumble dries. A properly powdered transfer feels smooth to the touch and has a slightly matte, rubbery hand. If you can feel individual grains through the film, expect the print to shed powder in the wash and lose adhesion at the corners first.
Fabric Compatibility: What Sticks and What Fights Back
Cotton is the easy answer. The fiber surface is porous and slightly rough, giving the adhesive plenty of texture to grab. Ring-spun cotton tees and fleece press beautifully and hold up for years.
Blends are where it gets interesting. A 50/50 cotton-poly shirt presses fine, but the polyester content means the fabric can soften and shift slightly under the heat, so you need enough pressure to keep the transfer from sliding. Tri-blends and 100% polyester are the trickiest. Polyester dyes can sublimate into the adhesive layer when the press runs hot, causing a ghost image or a color shift that shows up days later, not immediately. If you press a lot of poly, lower the temperature and extend the dwell time instead of cranking the heat.
Nylon and coated outerwear need a different approach entirely. The slick surface gives the adhesive almost nothing to bite into, and the fabric itself can scorch well below normal press temperatures. A short pre-press to drive off moisture, a lower temperature, and a longer press usually gets you there. Test on a scrap of the same fabric before committing to a customer's jacket.
Quick Reference by Fabric
- 100% cotton: the most forgiving surface, presses at standard settings and washes well.
- Cotton-poly blends: press slightly cooler than pure cotton and watch for fabric shift.
- 100% polyester and tri-blends: lower temperature, longer dwell, and be alert for dye migration.
- Nylon and coated shells: pre-press to remove moisture, use reduced heat, and always test a scrap first.
- Canvas and denim: heavier weave needs more pressure to push adhesive into the fibers.
Pressing Settings That Actually Work
Manufacturers publish ranges, not absolutes, because every press runs a little differently. My shop's starting points sit in the middle of the common range, and I adjust from there based on how the transfer releases from the film.
Temperature usually lands between 300 and 320 degrees Fahrenheit. Pressure should be firm, roughly 50 to 60 psi, enough that you can see the fabric texture through the film when you lift the handle. Dwell time runs 10 to 15 seconds for the initial press. Peel while the transfer is still warm, using a smooth, steady motion rather than yanking.
After peeling, a second press of 5 to 8 seconds with a cover sheet locks the adhesive into the fabric. That step is optional according to some suppliers, but in my experience it is the single biggest factor in wash durability. Skip it and you will see edge lifting within a month. Do it and the same print can outlast the garment.
Reading a Bad Press Before It Costs You
Three symptoms tell you almost everything:
- Transfer will not release cleanly. Usually too little pressure or too short a dwell. Increase one variable at a time.
- Ink looks dull or washed out after pressing. You likely pressed too cool, so the adhesive never fully activated.
- Print feels stiff and plasticky. Too much heat, too long a dwell, or both. The adhesive overcured and lost its flexibility.
Keeping a scrap of each fabric type on hand and running a test press before every new order saves more ruined garments than any setting chart.
When DTF Beats Other Decorating Methods
It is not the right answer for every job, and knowing when to steer a customer elsewhere is part of the craft.
Choose DTF transfers when the artwork has gradients, photographic detail, unlimited colors, or fine type. Choose them when the order is small, since there is no minimum and no setup cost. Choose them when the fabric is a cotton or blend tee, a tote, or a canvas apron.
Reach for embroidery instead when the design is simple, bold, and needs to look premium on a polo or cap. Reach for screen print when you are running hundreds of identical one-color shirts and want the lowest per-unit cost. Reach for sublimation only on light-colored polyester, because it bonds with the fiber rather than sitting on top.
Layering DTF With Other Decorations
One of the more useful tricks in a small shop is combining methods on the same garment. A left-chest embroidered logo plus a large DTF back print is a common team order, and it looks intentional rather than mismatched. Press the transfer first, then embroider, so the needle never risks catching the film edge.
Caring for DTF-Printed Garments
Tell your customers three things and their prints will last. Wash inside out in cold water. Tumble dry low or hang dry. Never iron directly over the print, and if a touch-up is needed, use a cover cloth and low heat.
Skip fabric softener and dryer sheets on printed garments. The coating they leave behind is designed to make fibers feel slippery, and it does the same thing to the adhesive bond over time. A simple care card tucked into the package cuts down on complaints more than any reformulation of the film ever will.
Frequently Asked Questions
How many washes do DTF transfers typically survive?
When pressed correctly on cotton and washed inside out in cold water, most prints hold up for 50 or more wash cycles without meaningful fading or edge lifting. The two biggest variables are the second press after peeling and whether the garment goes through a hot dryer. Cooler drying alone can double the life of a print.
Can I use DTF transfers on dark polyester without dye migration?
Yes, but you have to control heat. Polyester dyes turn to gas at higher temperatures and can bleed into the adhesive layer. Press at the low end of the temperature range, extend the dwell time to compensate, and pre-test on a scrap of the exact fabric. Some shops also use a low-temperature adhesive film made specifically for polyester.
Do I need a commercial heat press, or will an iron work?
An iron can technically activate the adhesive, but it cannot deliver even pressure across the whole design. The result is usually a print with strong centers and lifting edges. A clamshell or swing-away press is the practical minimum for anything you intend to sell, and a used one pays for itself in the first few avoided reprints.
How should I store unused DTF transfers?
Keep them flat, cool, dry, and out of direct sunlight in a sealed bag or sleeve. Humidity is the enemy, because moisture in the film can cause bubbling during the press. Stored properly, most transfers remain usable for six to twelve months, though I prefer to press them within a few months of printing for the cleanest release.
Is DTF cheaper than screen printing for small runs?
Almost always, yes. Screen printing carries setup costs per color, so a 12-shirt order with four colors gets expensive fast. A DTF transfer has no setup fee and no color limit, which makes it the better choice for short runs, one-offs, and personalized orders. The math flips only when you scale into the hundreds of identical single-color prints.