
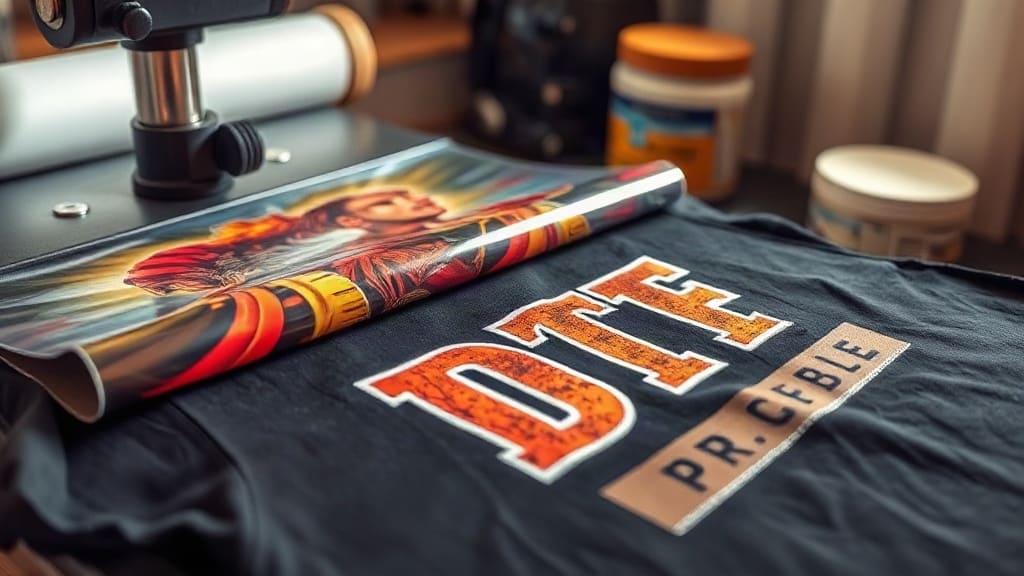
Imagine pressing a vibrant, full-color design onto a cotton t-shirt in under a minute, with no weeding, no masking, and no color limitations. That's the promise of DTF transfers, a technology that has taken the custom apparel world by storm. Whether you're a small business owner, a hobbyist, or just curious about the latest in garment decoration, understanding DTF transfers can open up a world of creative possibilities. In this guide, I'll walk you through everything you need to know to get started and achieve professional-looking results.
What Are DTF Transfers?
DTF stands for Direct-to-Film. Unlike DTG (Direct-to-Garment) printing, which prints directly onto the fabric, DTF transfers involve printing your design onto a special PET film using a DTF printer and then applying it to the garment with a heat press. The process uses a unique adhesive powder that melts and bonds the ink to the fabric, creating a durable, stretchable print. This method works on a wide range of materials, including cotton, polyester, blends, and even leather. It's particularly popular for small batches, personalized items, and designs with fine details or gradients.
Why Choose DTF Transfers?
There are several compelling reasons to consider DTF transfers for your next project:
- No color limits: DTF printers use CMYK plus white ink, so you can print photorealistic images, gradients, and fine lines without worrying about color matching or screen setup.
- Works on almost any fabric: From 100% cotton to polyester and blends, DTF transfers adhere well and resist cracking.
- No weeding or masking: Unlike vinyl, DTF transfers come ready to press after a simple powder application and curing step. This saves hours of tedious work.
- Cost-effective for small runs: There's no minimum order, and you can print one-off designs without setup fees.
- Soft hand feel: When applied correctly, DTF prints have a soft, flexible feel that doesn't stiffen the garment.
How DTF Transfers Work: Step by Step
Understanding the process helps you troubleshoot and perfect your technique. Here's what happens from start to finish.
1. Design Preparation
Start with a high-resolution image (300 DPI or higher) in a format like PNG or TIFF. Remove the background if you want a transparent design; otherwise, the printer will include it. Remember that DTF prints are opaque, so white areas will be printed with white ink. Mirror your design horizontally before printing, as the film will be flipped when pressed.
2. Printing
Load the DTF film into your printer, ensuring the coated side faces the print head. The printer lays down a layer of white ink first, followed by CMYK colors. This white base is crucial for vibrant colors on dark fabrics. After printing, the film may look dull; that's normal.
3. Powder Application
While the ink is still wet, sprinkle the adhesive powder evenly over the printed area. Shake off the excess. The powder sticks only to the wet ink. This step is critical for bonding the transfer to the fabric.
4. Curing
Place the film in a curing oven or under a heat press at around 320°F (160°C) for 2-3 minutes. The powder melts and becomes clear, indicating the transfer is ready. Alternatively, some use a heat press for curing, but an oven provides more even results.
5. Pressing
Set your heat press to 300-320°F (150-160°C) with medium pressure. Pre-press the garment for a few seconds to remove moisture. Place the transfer on the fabric, cover with a Teflon sheet or parchment paper, and press for 10-15 seconds. Peel the film while hot (hot peel) or cold (cold peel) depending on the film type. Most DTF films are hot peel, but always check the manufacturer's instructions.
Common Mistakes and How to Avoid Them
Even experienced crafters run into issues. Here are the most frequent pitfalls and their solutions.
Insufficient Pressure
If the transfer doesn't adhere fully, it may peel off after washing. Ensure your heat press applies even, medium pressure. Too little pressure prevents the adhesive from penetrating the fabric fibers.
Wrong Temperature
Too hot and the film may curl or the ink may scorch; too cold and the adhesive won't activate. Invest in an infrared thermometer to verify your press temperature. Each film brand may have slightly different recommendations, so always test.
Not Pre-Pressing the Garment
Moisture in the fabric can create steam during pressing, leading to poor adhesion. Always pre-press for 5-10 seconds to remove wrinkles and moisture.
Peeling at the Wrong Temperature
Hot peel films must be peeled immediately after pressing while the transfer is still hot. Cold peel films need to cool completely before peeling. Peeling at the wrong time can cause the design to crack or lift.
DTF vs. Other Transfer Methods
How does DTF stack up against vinyl, screen printing, and DTG?
- Vinyl: Great for simple, single-color designs, but multi-color designs require layering and weeding, which is time-consuming. DTF handles complex designs effortlessly.
- Screen Printing: Cost-effective for large orders but requires setup and is impractical for small batches. DTF shines for one-offs and small runs.
- DTG: Best for 100% cotton and light-colored shirts; DTF works on more fabrics and produces more vibrant colors on darks.
Tips for Long-Lasting DTF Prints
To ensure your DTF transfers withstand repeated washing and wearing, follow these best practices:
- Wash the garment inside out in cold water.
- Avoid fabric softeners and bleach, which can degrade the adhesive.
- Tumble dry on low or hang dry.
- If ironing, do not iron directly on the print; use a pressing cloth.
- Wait at least 24 hours after pressing before washing.
Frequently Asked Questions
Can I use DTF transfers on dark colors?
Absolutely. DTF transfers include a white ink layer that makes colors pop on dark fabrics. Just ensure you use a film with a white base and follow the correct pressing parameters.
How do I store unused DTF transfers?
Keep them in a cool, dry place away from direct sunlight. Place them in a sealed bag or container to prevent dust and moisture from affecting the adhesive. Properly stored transfers can last for months.
What's the difference between hot peel and cold peel DTF film?
Hot peel film is designed to be peeled immediately after pressing while still hot, which is faster. Cold peel film requires the transfer to cool completely before peeling, often resulting in a smoother finish. Always follow the film manufacturer's recommendation.
Do I need a special printer for DTF?
Yes, DTF requires a printer that uses DTF ink and can handle PET film. Many converted Epson printers are popular for this purpose. You'll also need a heat press and curing oven or heat gun.
How durable are DTF prints?
When applied correctly, DTF prints are very durable and can outlast the garment itself. They resist cracking, peeling, and fading, even after many washes.