
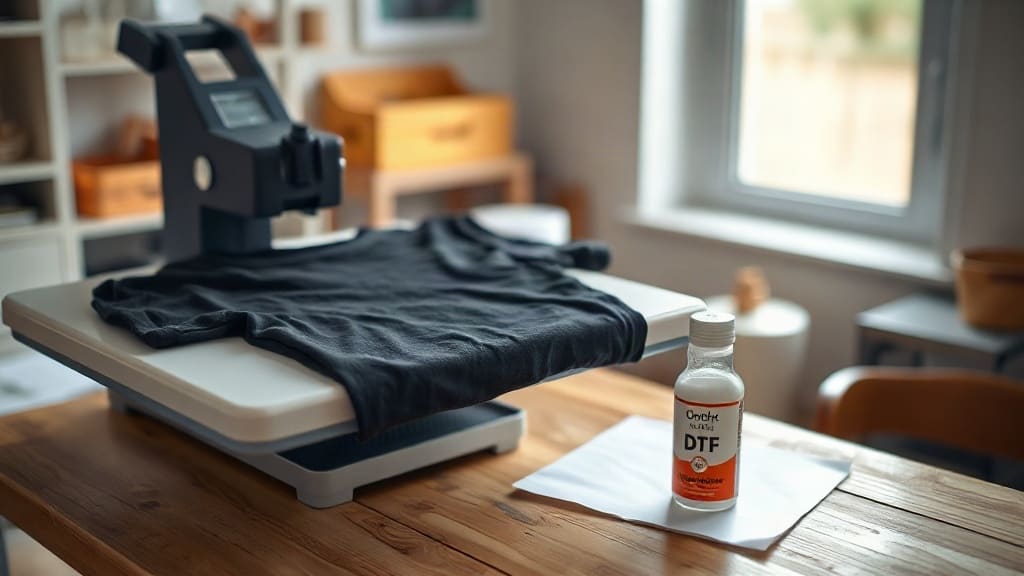
When I first started experimenting with custom apparel, I spent months wrestling with vinyl cutters and sublimation paper. Nothing stuck to cotton the way I wanted, and my polyester orders kept coming back with faded prints. Then a fellow printer handed me a sheet of DTF transfers and told me to give them a try. That single afternoon changed how I approach decorating shirts forever. Direct-to-film transfers have become the go-to solution for small shops and large operations alike because they solve the two biggest headaches in garment printing: fabric compatibility and color vibrancy.
What Exactly Are DTF Transfers?
A DTF transfers sheet is a printed film that carries a design on a special PET surface, coated with a thermoplastic adhesive powder. You print your artwork onto the film using a DTF printer, apply the powder while the ink is still wet, cure it, and then press the transfer onto a garment with a heat press. The result is a soft, stretchy print that bonds permanently to the fabric. Unlike screen printing, there is no need for separate screens per color. Unlike sublimation, you are not limited to light polyester garments. The process works on cotton, blends, nylon, canvas, and even leather.
Why the Powder Matters
That adhesive powder is not a minor detail. It is the bridge between the ink and the fabric. Too little powder and the print peels after a few washes. Too much and you get a stiff, plastic-like feel. The sweet spot is a thin, even coating that looks like a light dusting of snow. Most shops use a shaker machine to apply powder consistently, but plenty of successful printers still do it by hand with a small scoop and a steady wrist.
Why Printers Are Switching to DTF
The shift toward DTF transfers is not just hype. It comes down to practical advantages that show up on the shop floor every day.
- No weeding. You skip the tedious process of cutting around tiny letters and peeling away excess vinyl.
- Works on dark and light fabrics. White ink sits under the color layers, so your design pops on black hoodies just as well as on white tees.
- Stretches with the garment. The print moves with the fabric instead of cracking along the seams.
- Low minimums. You can produce one shirt or one hundred without changing your setup.
- Long shelf life. Properly stored transfers keep for months, so you can print a batch and press them as orders come in.
For a shop that handles mixed orders, those benefits add up fast. A customer wants three black polos and two white tank tops? Same transfer, different garments, no reconfiguration.
How to Apply DTF Transfers for Best Results
Application is straightforward, but small details separate a print that lasts years from one that fails in weeks. Here is the process I follow after testing dozens of combinations.
Step 1: Preheat the Garment
Press the shirt for a few seconds before placing the transfer. This removes moisture and wrinkles, giving the adhesive a clean surface to grab. Skipping this step is the most common reason transfers lift at the corners.
Step 2: Position and Press
Place the transfer with the printed side facing up, then cover it with a protective sheet or parchment paper. Set your heat press to around 325 degrees Fahrenheit and apply medium pressure for 15 to 20 seconds. Every press runs a little differently, so run a test on a scrap garment before committing to a customer order.
Step 3: Peel While Warm or Cold
Most DTF transfers are designed for a warm peel, meaning you remove the film while the garment is still hot but not scorching. Some films call for a cold peel. Check the instructions from your supplier, because peeling at the wrong temperature can pull ink away from the adhesive.
Step 4: Post-Press for Durability
After peeling, cover the print again and press for another 5 to 10 seconds. This second press settles the ink into the adhesive and dramatically improves wash resistance. It takes a few extra seconds and saves a lot of headaches.
Common Mistakes and How to Avoid Them
I have made almost every mistake in the book, so you do not have to. Here are the ones that cost me the most time and material.
- Pressing at the wrong temperature. Too hot and the film curls or the ink scorches. Too cold and the adhesive never activates.
- Using too much pressure. Excessive pressure flattens the print and pushes adhesive out the sides, creating a hard edge that peels.
- Storing transfers in humid areas. Moisture ruins the powder. Keep them sealed in a cool, dry place.
- Stretching the film during placement. Let the transfer sit flat before pressing; tugging it distorts the design.
- Skipping the post-press. This is the single easiest way to extend the life of your print.
Choosing the Right Film and Powder
Not all supplies are created equal. A quality film releases cleanly and holds fine detail without bleeding. The powder should have a consistent particle size so it melts evenly. If you notice pinholes in your prints or powder clumping, the issue is usually the film or the powder, not your printer. Buying from a reputable supplier pays for itself in fewer ruined garments.
Frequently Asked Questions About DTF Transfers
How long do DTF transfers last on a shirt?
With proper application and normal washing, a quality DTF transfers print can last 50 washes or more without significant fading or cracking. Wash inside out in cold water and avoid harsh bleach to maximize lifespan.
Can I use DTF transfers on 100 percent cotton?
Yes. Unlike sublimation, DTF works beautifully on cotton. The adhesive bonds to the fibers regardless of the fabric's polyester content, which is why it has become so popular for cotton tees and hoodies.
Do I need a special printer for DTF transfers?
You need a printer that supports DTF ink and white ink channels. Many shops convert existing eco-solvent or pigment printers, while others buy dedicated DTF machines. The key requirement is the ability to lay down a white ink base.
What is the difference between DTF and DTG?
DTG prints directly onto the garment, which limits you to certain fabrics and often requires pre-treatment. DTF prints onto a film first, then transfers to the garment, giving you more fabric flexibility and a more consistent result across different materials.
How should I store unused DTF transfers?
Keep them in a sealed bag or container away from direct sunlight and humidity. A cool, dry drawer works fine. Stored properly, transfers remain usable for six months or longer.
Final Thoughts
Mastering DTF transfers opens doors that other decoration methods keep closed. You can say yes to mixed-fabric orders, dark garments, and small runs without rebuilding your workflow. Start with a test pack, dial in your press settings, and keep notes on what works. Before long, you will wonder why you waited so long to make the switch.