
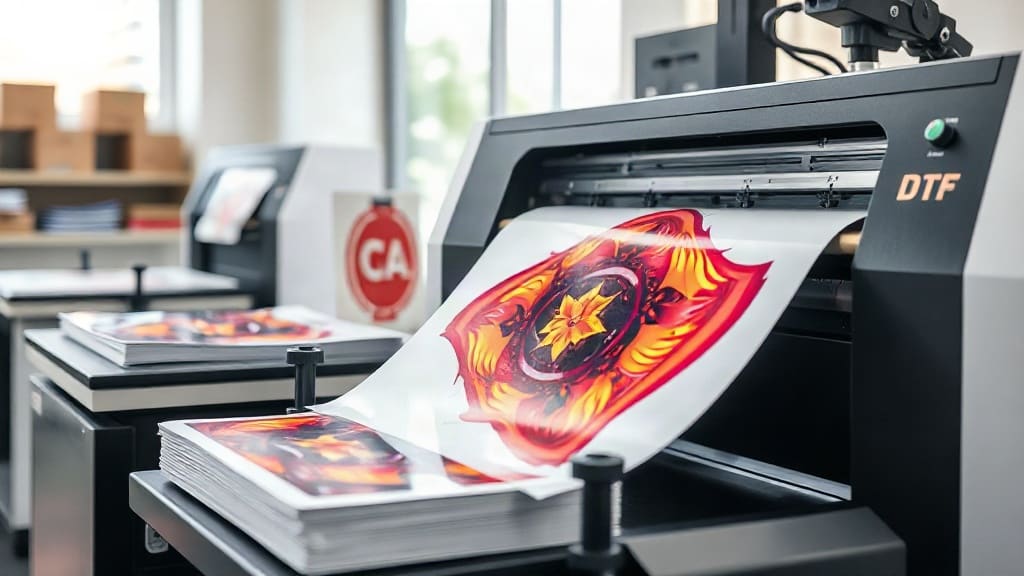
If you've been exploring custom apparel, you've likely encountered the term DTF. Short for Direct to Film, this printing method has quickly become a favorite among crafters, small business owners, and hobbyists alike. Unlike traditional methods that require special papers or pretreatment, DTF printing offers a versatile, cost-effective way to transfer detailed designs onto a wide range of fabrics. In this guide, we'll walk you through the essentials of DTF printing, from how it works to practical tips for getting started.
What Exactly Is DTF Printing?
DTF printing stands for Direct to Film. It's a process where your design is printed onto a special film using a DTF printer and water-based inks. A powdered hot-melt adhesive is then applied to the wet ink, and the film is cured. Once ready, you can transfer the design onto fabric using a heat press. The result is a vibrant, durable print that adheres to cotton, polyester, blends, and even some treated nylon fabrics. Unlike DTG (Direct to Garment) printing, DTF doesn't require the garment to be pretreated, which simplifies the workflow and reduces costs.
Why DTF Printing Has Become So Popular
The rise of DTF printing isn't just hype. It solves several pain points that have long plagued custom apparel creators. Here are a few reasons why it's worth your attention:
- Versatility: Works on almost any fabric, including dark and light colors, without needing special coatings.
- Detail retention: Captures fine lines, gradients, and photographic details with impressive clarity.
- Durability: Prints resist cracking, peeling, and fading even after multiple washes.
- Cost-effective for small batches: No minimum order quantities, making it ideal for one-off projects or small runs.
- Simple workflow: With a DTF printer, heat press, and film, you can produce transfers in-house.
How DTF Printing Works: Step by Step
Understanding the process helps you troubleshoot and improve your results. Here's a breakdown of the key steps:
- Design preparation: Create your artwork in a graphics program and mirror it horizontally. DTF printing requires mirrored images because the film is flipped during transfer.
- Printing: Load the DTF film into your printer and print using specialized DTF inks. These inks are formulated to bond with the adhesive powder.
- Powder application: While the ink is still wet, sprinkle hot-melt adhesive powder over the design. Shake off excess powder, ensuring an even coat.
- Curing: Place the film in a curing oven or under a heat source to melt the powder. This step is crucial for creating a strong bond.
- Transfer: Set your heat press to the recommended temperature (usually around 300-350°F) and press the film onto the fabric for 10-15 seconds.
- Peel: Wait for the film to cool (cold peel) or peel while hot (hot peel), depending on the film type. Most DTF films are cold peel.
DTF vs. Other Printing Methods
How does DTF stack up against DTG, screen printing, and vinyl? Each has its place, but DTF shines in flexibility.
DTF vs. DTG
DTG prints directly onto the garment, which can be limiting for dark shirts and requires pretreatment. DTF transfers can be applied to any color and fabric, and you can prepare transfers in advance, saving time during peak seasons.
DTF vs. Screen Printing
Screen printing is cost-effective for large orders but requires setup for each color. DTF excels for full-color designs and small batches, with no screen setup fees.
DTF vs. Heat Transfer Vinyl
Vinyl is great for simple shapes and text, but layering multiple colors can be tedious. DTF handles complex, multi-color designs in a single transfer.
Getting Started with DTF Printing
Ready to dive in? Here's what you'll need:
- A DTF printer (or access to a service that provides DTF transfers).
- DTF film and DTF inks.
- Hot-melt adhesive powder.
- A heat press.
- A curing oven or heat gun (for powder curing).
- Design software (e.g., Photoshop, Illustrator, or free alternatives like GIMP).
If you're not ready to invest in a printer, you can order custom DTF transfers from reputable suppliers. This allows you to test the waters without a large upfront cost.
Tips for Flawless DTF Transfers
Even with the right equipment, small mistakes can ruin your results. Keep these tips in mind:
- Control moisture: Humidity affects powder adhesion. Store film and powder in a dry place.
- Experiment with pressure: Too little pressure leads to poor adhesion; too much can cause ink to spread.
- Test wash durability: Always wash a sample before selling or wearing. Wait 24 hours after transfer before washing.
- Use quality blanks: While DTF works on many fabrics, tightly woven cottons yield the best results.
- Follow film instructions: Different films have specific temperature and peel requirements.
Common DTF Printing FAQs
How long do DTF prints last?
With proper application and care, DTF prints can last 50+ washes without significant fading or cracking. Following wash instructions (inside out, cold water, no bleach) extends longevity.
Can I use DTF on 100% polyester?
Yes, DTF works well on polyester, including athletic wear. However, lower temperatures may be needed to avoid scorching.
Do I need a special printer for DTF?
You can convert certain inkjet printers to DTF with a conversion kit, but dedicated DTF printers are recommended for consistent results.
What's the difference between hot peel and cold peel DTF film?
Hot peel film is removed immediately after pressing, while cold peel film must cool completely before peeling. Cold peel generally offers more vibrant colors.
Is DTF printing eco-friendly?
DTF inks are water-based, making them more environmentally friendly than some alternatives. However, proper disposal of film and powder is important.
With its versatility and ease of use, DTF printing opens up a world of possibilities for custom apparel. Whether you're a hobbyist or a business owner, mastering DTF can elevate your creations. Start experimenting, and you'll soon see why this method is taking the industry by storm.